Creating content on a consistent basis is no easy job. I’ll give you that. But to be a great content creator, it is mandatory to keep churning out content on a regular basis.
I personally do not have a mind-blowing content creation process in place. If nothing else, it’s quite basic.
But it gets the job done.
Ever since I began Typewriter.Media, I have been forcing myself to write at least one blog post a week. Add to that a few weekly social media updates, and that’s actually quite a bit of content that needs to be created on a consistent basis.
Over the past couple of weeks, a few people got in touch with me to ask about my content creation process. While I humbly did say that it wasn’t much of a deal, it did get me thinking.
My own content creation process has evolved over the years. It is just that, I never penned it down.
Now when I think of it, my content creation process in 2009-10, when I started blogging was something like this:
- Decide on topic
- Write
- Proofread
- Publish
4 steps.
That’s it.
Penning down my present content creation process for blog
I am pretty sure my present process has become better and more refined.
Not just the process. Even the end result. My blog posts today perform better than how they performed in 2011 or 2016.
While I have improved as a writer, am sure the process in place also deserves credit.
And that’s why I felt it would be right to actually pen down my content creation process.
It’s not much. Just 9 simple steps.
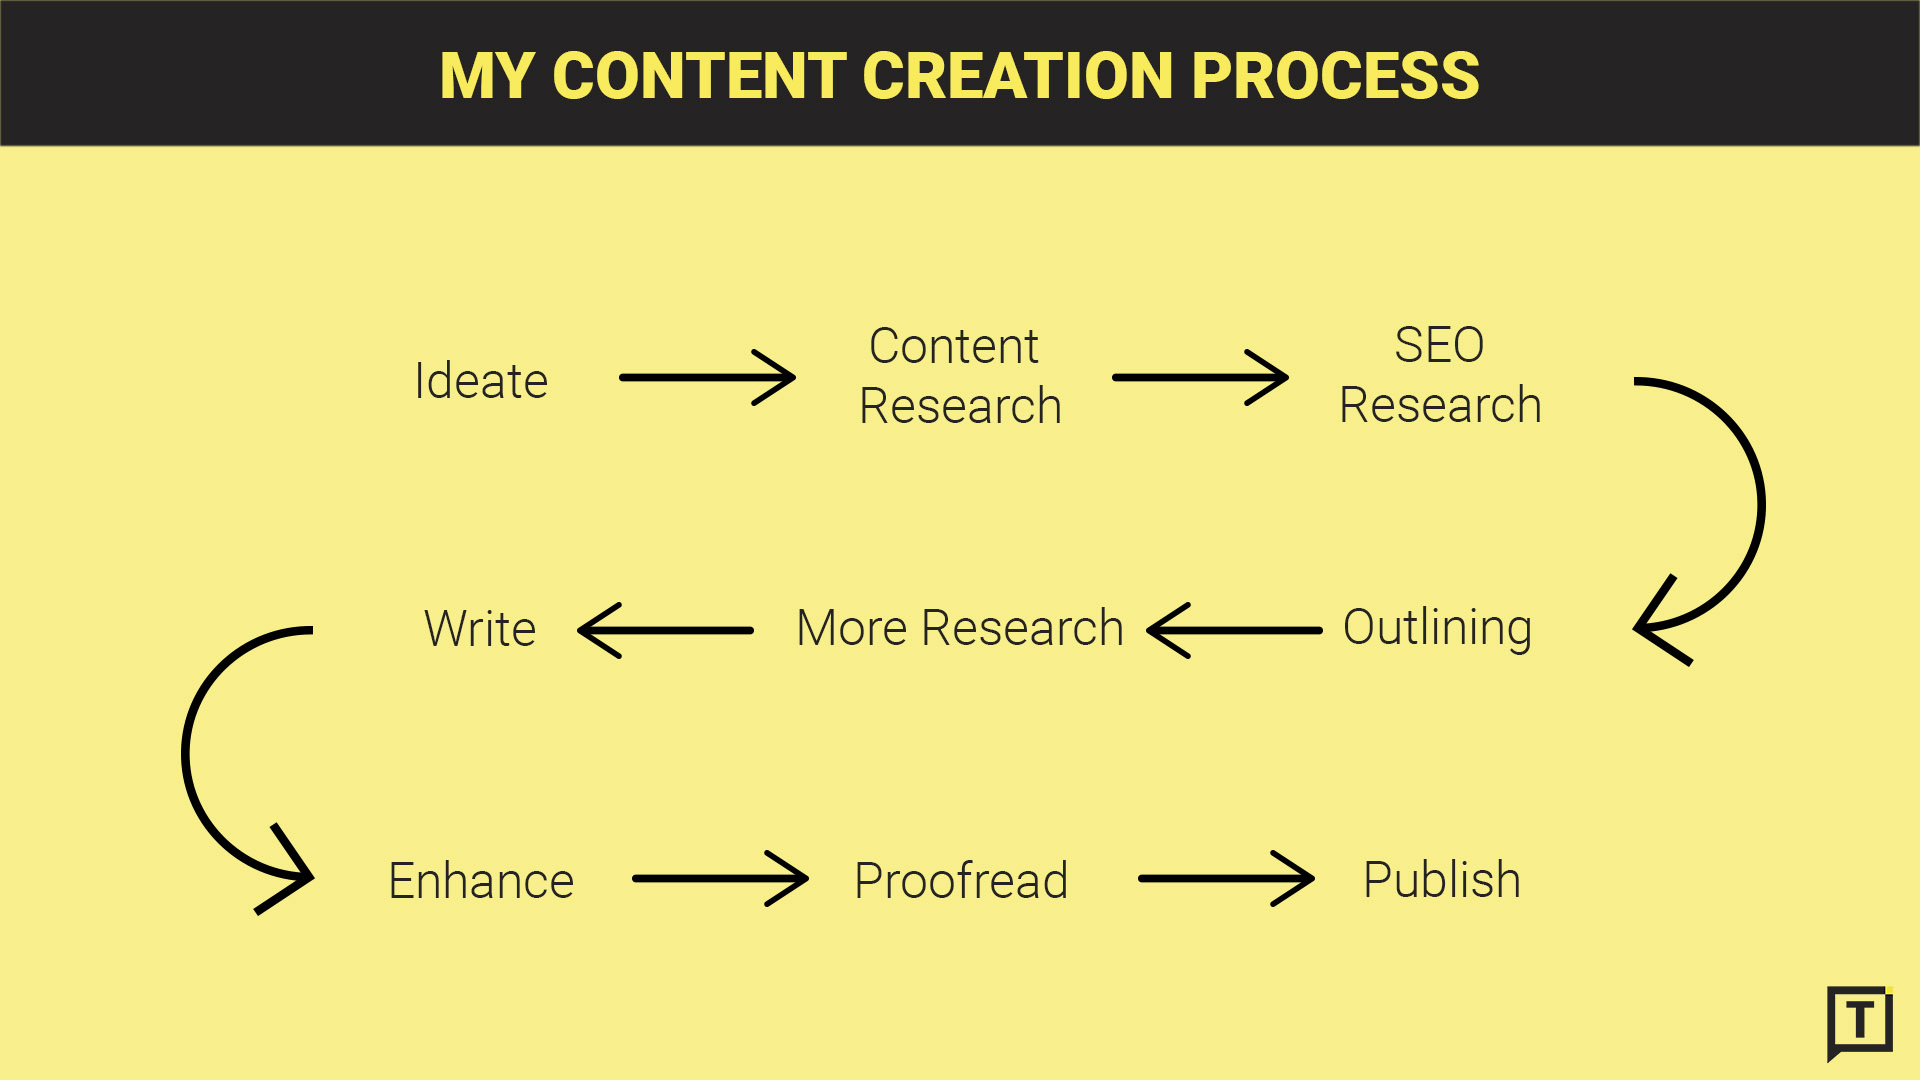
1. Ideate
I maintain a Google Sheet where I jot down all content ideas that come to my head.
At times, these might light up while am reading an article, or at times I might think of it in the shower. Either way, all ideas, no matter how stupid or how complicated, get jotted down in this Google Sheet of mine.
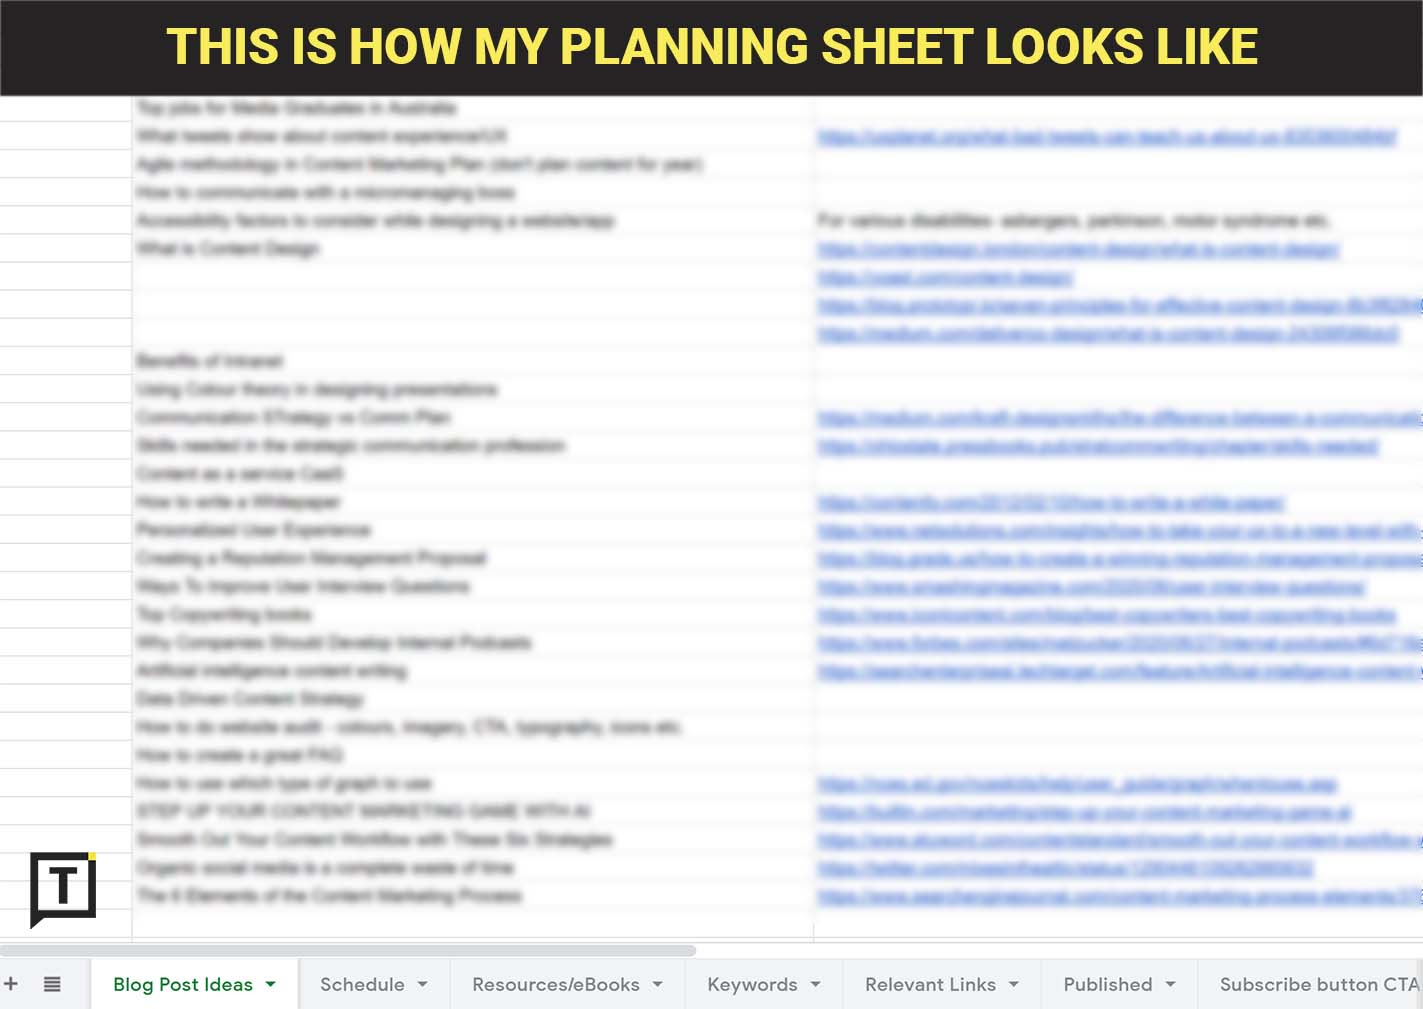
On a separate tab in the same sheet, I have my Content Calendar. Here I chart out my content plans for the next 4 weeks.
When there’s a change in plans (like this blog post which wasn’t actually planned), I just edit the document and push forward my existing schedule.
This way, I make sure that any given week, I do not have a content block.
2. Content Research
Once I have decided on the topic, I start off with content research.
That is, I basically read on the web the existing information around what am planning to write.
In some cases, I also refer to academic research papers. At times, this helps me understand in-depth about the topic.
While doing this, I make notes of my learnings in a Word document.
3. SEO Research
After I have gathered enough information and done enough research to satisfy myself, I start off with some basic SEO research.
I use Ubersuggest & Ahrefs to understand the keywords being used around the topic I am writing on. This also helps me gauge the search volume for each keyword and gives me a list of related keywords.
4. Outlining
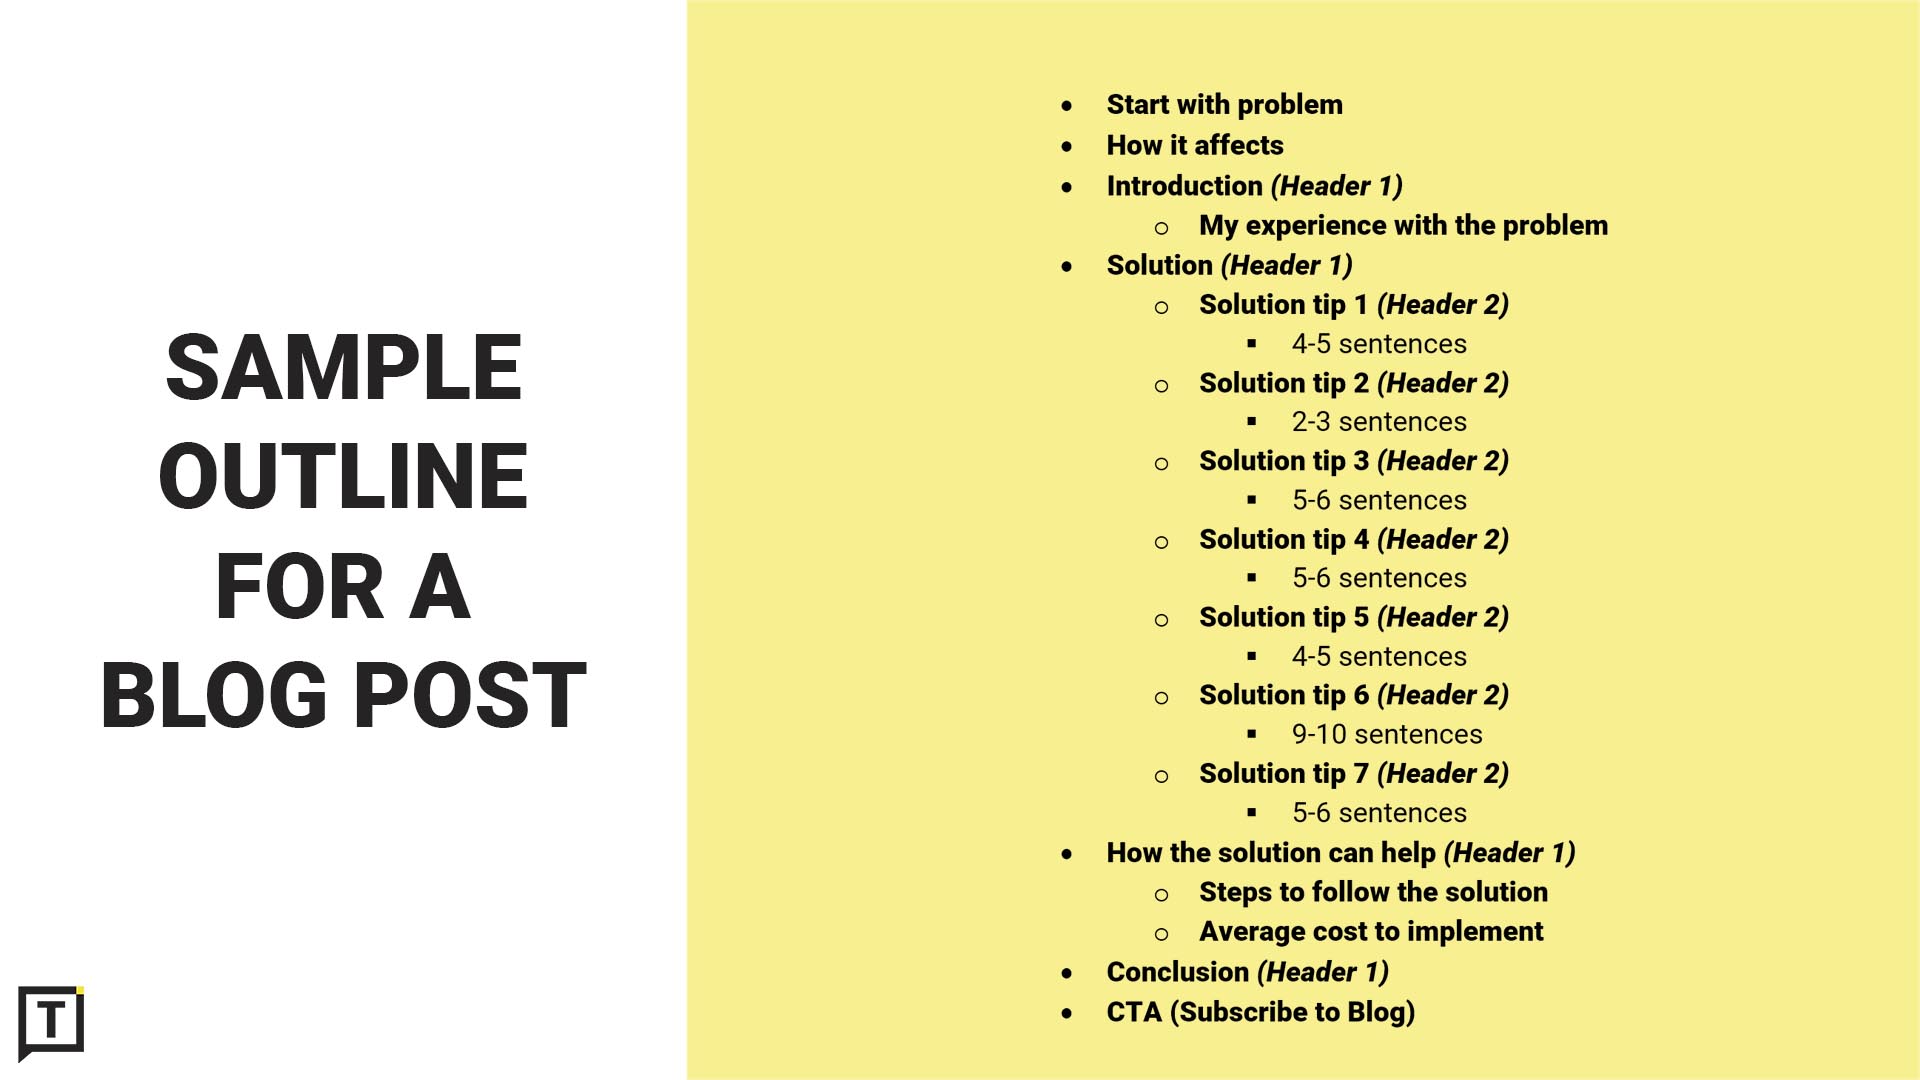
I then go back to my Word document and create an outline of my article.
This is where I separate the whole blog post into different sections and make sure that I have enough content for each. Creating an outline helps me judge the flow of the article.
A sample outline for one of my blog post looks like this:
5. More Research (if needed)
While creating the outline, if I feel that I do not have enough information about a specific topic/section, I do more research around it.
This doesn’t happen for all my blog posts, but it is a huge value addition when it does.
This research usually doesn’t take me too long since I mostly would be searching for a very specific set of information.
6. Write
And then the main thing. I start writing.
I usually write straight into WordPress, while Alt-Tab’ing my Word document for reference.
There are three main reasons why I do this:
- I once faced formatting issues when I pasted content from Word into WordPress. Just lost faith after that.
- WordPress provides me with enough distraction-free writing.
- I keep a regular eye on the Yoast SEO plugin in WordPress to check the ‘Readability’ of my post.
7. Enhance
Now that the cake is baked, it needs the cherry up top.
I do a quick read through the article and bold all important phrases which I do not want my reader to miss, even while scan-reading.
Then I create and add all relevant imagery/video/GIF/sketch/rich media to the blog post.
Based on the article, this takes me anywhere from 30-90 minutes.

Deciding on the headline, adding the tags, writing the meta description, etc. all happen in this step.
It’s also here that I add all relevant image/source credits.
8. Proofread
Now that my MVP (Minimum Viable Product) is ready, I do a detailed proofread.
If I feel any paragraph is longer than needed, I break it down to shorter ones for easier scanning.
After I am done, I usually wait for at least an hour before I come back to the article and read it again with a fresh pair of eyes.
One final round of proofreading and then it’s all good to go.
9. Publish
One quick preview to see how the article looks and voila, I hit ‘Publish’.
It’s then out there for the whole world (or maybe just a few interested people) to read.
Out of habit, I usually post the article on Twitter right after its published.
– – – – – – – – – – – – – – – – – – – – – – – –
Well, that’s all about my content creation process. No frills and bells. Just a plain simple procedure.
I would love to hear how your content creation process works. Is it something similar or do you have a mind-blowing addition?
Do share. Would love to hear from you.
Cheers.
Want to join our small but awesome community? Just drop in your email below and I’ll buzz you in.
Infographic vector created by freepik - www.freepik.com
Illustration by Freepik Stories
Photo by Daniel Korpai on Unsplash


Simple and elegant blog.
Looking forward for your upcoming blogs.
Thanks so much Jiby. Appreciate the support!